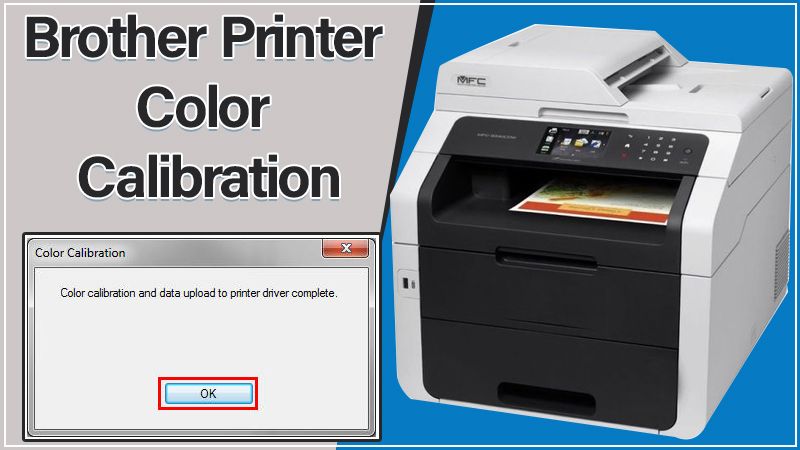
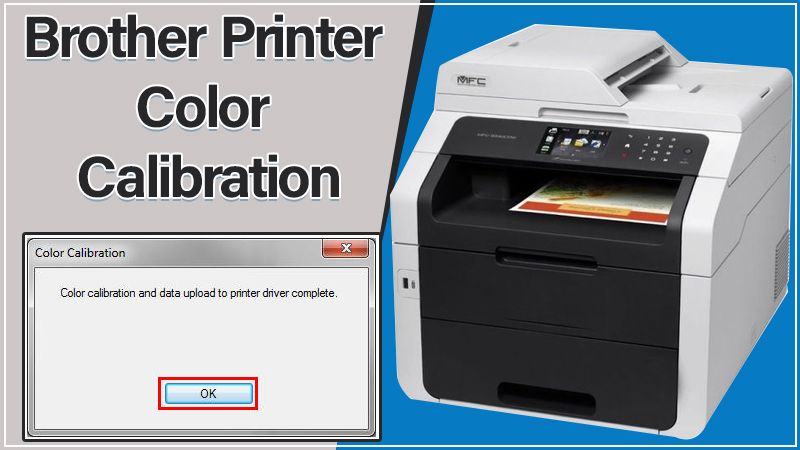
The color calibration in the printer helps to adjust or measure the color response of the device. While using the Brother printer to take printouts, many users have trouble with Brother printer color calibration. If you are also wondering how to run the color calibration on the printer correctly, this post can help you. Here we have shared the simple instructions that can help you to manage color settings on your device while printing the documents. To know more, keep reading!

Brother printer color calibration settings
You can set the color setting for your Brother printer from the “Custom Setting” dialog box in the Windows operating system printer drivers. And, “Effect” dialogue box on the Mac Operating System X CUPS printer driver.
Although, the feature is available only for the Window printer driver, not for the “BR-Script3 printer drivers of Windows and Mac OS X”.
How to set the Brother printer color calibration?
To calibrate the color of your Brother printer, you need to follow some simple guidelines. In case, you still have trouble, you can contact the Brother printer support team any time you want for expert advice.
Before you proceed with the given steps, you need to check the current color tone on your device and adjust the color settings. After this, you need to open the ” Custom settings” dialog box, or the ” Effect” dialog box.
For the Windows printer driver, follow the steps below:
- On your Windows computer, go to the ” printing preferences”.
- Tap the ” basic” tab.
- Go to the ” document type dropdown list” settings.
- Choose the “ manual” option.
- The custom setting dialogue box will appear on your screen.
From here you can manage the Brother printer color calibration settings for Windows computers.
For Mac OS X CUPS printer driver, follow the steps below:
- Open the print dialog, and follow one of the below mentioned options:
- Click ” print settings”, from the ” popup” menu. Or,
- Choose the ” printer settings” from the ” pane pop up” menu.
- Now, select the “Color settings”.
- Choose ” Advanced color settings”.
- After this, you can adjust the settings as per your preference.
- At last, Hit the “Ok” button.
Is the Brother printer not printing color correctly?
Are You facing Brother printer won’t print color correctly Well, you can use web-based color calibration for your Brother printer. Below are the step-by-step instructions you need to consider for using the color calibration:
- Firstly, your device must be connected through an Ethernet port.
- You must have the TCP/IP address of your printer.
- Get the information regarding the IP settings.
- Your device must have access to the web browser software and the internet.
- Install the BR script printer driver on your device.
For the printer calibration, you need to calibrate the monitor first. Also, make sure that you have installed the correct printer drivers for your device. Once you’re done with the steps above, you can print the printer color calibration test page to make sure that everything is working fine. Depending upon your requirements, the steps may help you to get the sufficient colors you want.
Read Also – Connect Brother Printer to Wi-Fi
Still, having trouble with the “Brother printer color calibration”?
With the above-mentioned simple instructions, you would be able to set the Brother printer color calibration issue. But, if you are still having trouble with the color calibration on your device, don’t panic. You always have an option to contact the Brother printer support team for immediate help. The printer professionals are highly experienced engineers who can help you to find the root cause of the issue and share the best possible advice to troubleshoot the problem. Professional support is available around the clock, to call the experts anytime you want and get instant support to find and fix the problem. Once your issue is resolved, you can continue to print colored documents as per your preference.

